The simplest way to implement a Kubernetes cluster on AWS is to use the EKS (Elastic Kubernetes Service) managed service. However, it was found that EKS is expensive, with a starting price that is unrelated to EC2 compute costs, solely from EKS. To learn (save money), we will use bare EC2 instances to build a Kubernetes cluster and integrate ArgoCD to achieve CD (Continuous Deployment).
Prepare EC2 Instances #
Create EC2 instances through the AWS console or AWS CLI. Generally, the production environment configuration requires:
| Node Role | vCPU | Memory | Disk Space | Purpose |
|---|---|---|---|---|
| Master | 2 | 4GB | 20GB | For Kubernetes control-plane |
| Worker | 1 | 2GB | 20GB | For running application Pods |
You can also deploy a single-node cluster, with the Master and Worker on the same EC2 instance. This tutorial will use a single-node deployment to save costs for learning.
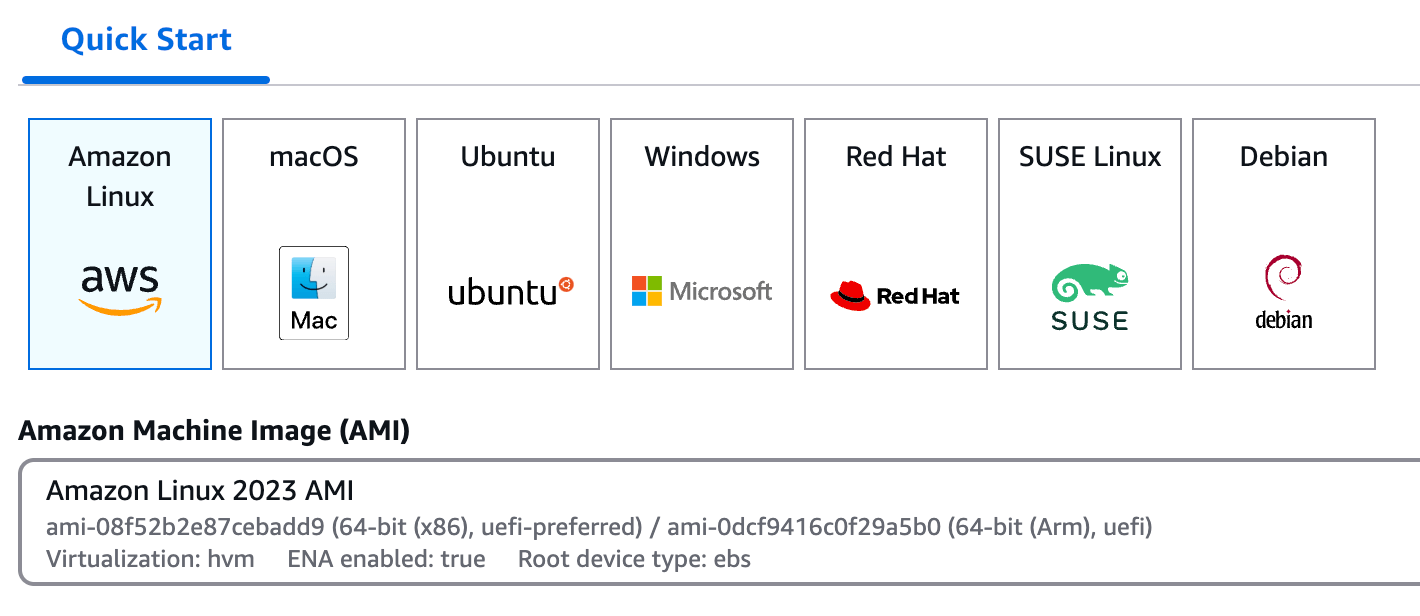
When creating an EC2 instance, select the Amazon Linux xxx AMI.

Create a key pair to remotely SSH into the EC2 instance. After creation, download a private key file, generally stored
in the ~/.ssh directory, and change the permissions to read-only for the owner.
1chmod 400 your-private-key.pem
After the EC2 instance is created, you can SSH into the instance using the following command:
1ssh -i your-private-key.pem ec2-user@your-ec2-public-ip
After that, we need to install the necessary software on the EC2 instance. Firstly, update the dnf package manager.
Since we are using the Amazon Linux 2 AMI, we use the dnf package manager instead of yum.
1sudo dnf update -y
Prepare Containerd #
Installation #
1sudo dnf install -y containerd
Enabling #
1sudo systemctl daemon-reload
2sudo systemctl enable --now containerd
Configuring #
1sudo containerd config default | sudo tee /etc/containerd/config.toml
Edit the /etc/containerd/config.toml file to change systemd_cgroup = false to systemd_cgroup = true to make
containerd use the systemd cgroup driver.
1sudo sed -i 's/SystemdCgroup = false/SystemdCgroup = true/' /etc/containerd/config.toml
Restart the containerd service and check the status.
1sudo systemctl restart containerd
2sudo systemctl status containerd
Prepare CNI #
The CNI (Container Network Interface) plugin provides network functionality for Kubernetes. It is mainly responsible
for:
- Assigning an IP address to the
Pod. - Setting up network communication between containers.
- Ensuring that the
Podcan communicate with otherPods, services (Services), and the outside world.
If the CNI plugin is not installed and configured correctly, the Pod network of Kubernetes will not work properly,
causing the Pod to be unable to communicate with each other or to assign an IP address. First, check if the CNI
plugin is installed.
1ls /opt/cni/bin
If the above command does not output the following information, it means that the CNI plugin is not installed.
ls: cannot access '/opt/cni/bin': No such file or directory
Install the CNI plugin by running the following command.
1CNI_VERSION=1.4.0
2sudo wget -P /usr/local/src https://github.com/containernetworking/plugins/releases/download/v${CNI_VERSION}/cni-plugins-linux-amd64-v${CNI_VERSION}.tgz
3sudo mkdir -p /opt/cni/bin
4sudo tar -C /opt/cni/bin -xf /usr/local/src/cni-plugins-linux-amd64-v${CNI_VERSION}.tgz
After installation, use the ls /opt/cni/bin command to check. You should see the following output.
bandwidth  bridge  dhcp  dummy  firewall  flannel  host-device  host-local
ipvlan  loopback  macvlan  portmap  ptp  sbr  static  tap  tuning  vlan  vrf
Other Necessary Configurations #
Start Two Kernel Modules #
1sudo modprobe overlay
2sudo modprobe br_netfilter
overlayandbr_netfilterare two kernel modules required by theKubernetescluster and need to be loaded manually.
To automatically load these two modules when the system starts, edit the /etc/modules-load.d/k8s.conf file.
1cat <<EOF | sudo tee /etc/modules-load.d/k8s.conf
2overlay
3br_netfilter
4EOF
Check if the modules are loaded successfully.
1lsmod | grep -e overlay -e br_netfilter
Modify sysctl Configuration
#
1cat <<EOF | sudo tee /etc/sysctl.d/k8s.conf
2net.bridge.bridge-nf-call-ip6tables = 1
3net.bridge.bridge-nf-call-iptables = 1
4net.ipv4.ip_forward = 1
5EOF
This operation is needed to ensure the
iptablesworks correctly.
Refresh the sysctl configuration to take effect.
1sudo sysctl --system
Disable swap
#
1sudo swapon -s # 查看 swap 分区
2sudo swapoff -a
The reason is that
Kubernetesdoes not support swap partitions because swap partitions make the memory limit of thePodinvalid.
Install Kubernetes #
Install curl
#
1sudo dnf install -y curl
Skip this step if you already have
curl.
Add the Kubernetes Repository
#
Add the Kubernetes repository address to the /etc/yum.repos.d/kubernetes.repo file using the following command.
1cat <<EOF | sudo tee /etc/yum.repos.d/kubernetes.repo
2[kubernetes]
3name=Kubernetes
4baseurl=https://pkgs.k8s.io/core:/stable:/v1.28/rpm/
5enabled=1
6gpgcheck=1
7gpgkey=https://pkgs.k8s.io/core:/stable:/v1.28/rpm/repodata/repomd.xml.key
8exclude=kubelet kubeadm kubectl cri-tools kubernetes-cni
9EOF
At the time of this writing, we use the
v1.28version ofKubernetes.
Update the package manager to recognize the new repository.
1sudo dnf makecache
Installation #
Install kubeadm, kubelet, and kubectl and start the kubelet service.
1sudo dnf install -y kubelet kubeadm kubectl --disableexcludes=kubernetes
2sudo systemctl enable --now kubelet
The
kubeletservice is one of the main components ofKubernetes, responsible for managing the lifecycle ofPods,
kubeadmis the initialization tool forKubernetes, which helps us quickly initialize aKubernetescluster.
kubectlis the command-line tool forKubernetesto interact with theKubernetescluster.
Install the tc (Traffic Control) package to ensure that the Kubernetes cluster works properly. First, check the package that contains the tc package.
1dnf provides tc
The tc package is generally in the iproute-tc package, so install the iproute-tc package therefor.
1sudo dnf install -y iproute-tc
Initialize the Kubernetes Cluster
#
Initialize the Kubernetes cluster using kubeadm.
1sudo kubeadm init --pod-network-cidr=10.244.0.0/16
Be sure to use
sudoto execute thekubeadm initcommand because this command will modify the system configuration files, otherwise an error will occur.Here, the
CIDRuses10.244.0.0/16because the network pluginFlannelconfigured later defaults to thisCIDR.
After the initialization is complete, you will see information similar to the following, with two commands, one is the kubeadm join command, and the other is the kubectl apply command, used to join the node and install the network plugin, respectively.
Your Kubernetes control-plane has initialized successfully!
Check the kubelet Service Status
#
1systemctl status kubelet
You should get the following output, the kubelet service should be Active: active (running).
● kubelet.service - Kubernetes Kubelet
   Loaded: loaded (/usr/lib/systemd/system/kubelet.service; enabled; vendor preset: disabled)
   Active: active (running) since Fri 2024-11-22 09:00:00 UTC; 1min 30s ago
     Docs: https://kubernetes.io/docs/
 Main PID: 12345 (kubelet)
    Tasks: 123
   Memory: 123.4M
   CGroup: /system.slice/kubelet.service
           └─12345 /usr/bin/kubelet --config=/var/lib/kubelet/config.yaml --kubeconfig=/var/lib/kubelet/kubeconfig --network-plugin=cni --pod-infra-container-image=k8s.gcr.io/pause:3.5.1 --resolv-conf=/etc/resolv.conf
Copy the kubectl configuration file to the current user’s home directory.
1mkdir -p $HOME/.kube
2sudo cp -i /etc/kubernetes/admin.conf $HOME/.kube/config
3sudo chown $(id -u):$(id -g) $HOME/.kube/config
Install the CNI plugin #
We will use the Flannel as the CNI network plugin. Flannel is a simple Kubernetes network solution that assigns a unique IP address to each Pod and ensures that Pods on different nodes can communicate through a virtual network.
Deploy Flannel
#
1kubectl apply -f https://raw.githubusercontent.com/flannel-io/flannel/master/Documentation/kube-flannel.yml
Check the Pod Status
#
1kubectl get pods -n kube-flannel
You should get the following output, the Pod of Flannel should be in the Running state.
NAME                    READY   STATUS    RESTARTS       AGE
kube-flannel-ds-n2nzv   1/1     Running   20 (52s ago)   67m
And check the Flannel DaemonSet with the following command.
1kubectl get daemonset kube-flannel-ds -n kube-flannel
You should get the following output, the AVAILABLE column should be 1.
NAME             DESIRED   CURRENT   READY   UP-TO-DATE   AVAILABLE   NODE SELECTOR            AGE
kube-flannel-ds  1         1         1       1            1           <none>                   67m
Check the Pod of the kube-system Namespace
1kubectl get pods -n kube-system
You should get the following output, all Pods should be in the Running state. If there are ContainerCreating states, wait a moment before checking again.
NAME                                                                      READY   STATUS    RESTARTS   AGE
coredns-668d6bf9bc-xls74                                                  1/1     Running   0          70m
coredns-668d6bf9bc-zghmb                                                  1/1     Running   0          70m
etcd-ip-123-12-12-12.ap-northeast-1.compute.internal                      1/1     Running   0          70m
kube-apiserver-ip-123-12-12-12.ap-northeast-1.compute.internal            1/1     Running   0          70m
kube-controller-manager-ip-123-12-12-12.ap-northeast-1.compute.internal   1/1     Running   0          70m
kube-proxy-f2nnh                                                          1/1     Running   0          70m
kube-scheduler-ip-123-12-12-12.ap-northeast-1.compute.internal            1/1     Running   0          70m
Check the Node Status
1kubectl get nodes
You should get the following output.
NAME                                              STATUS   ROLES           AGE   VERSION
ip-123-12-12-12.ap-northeast-1.compute.internal   Ready    control-plane   72m   v1.28.0
Install Metrics Server (Optional)
#
Metrics Server is an aggregator for Kubernetes that collects resource usage in the cluster. With Metrics Server, you can use the kubectl top command to view real-time resource usage in the cluster. First, deploy it.
1kubectl apply -f https://github.com/kubernetes-sigs/metrics-server/releases/latest/download/components.yaml
Edit the Metrics Server Deployment to add the --kubelet-insecure-tls parameter.
1kubectl edit deployment metrics-server -n kube-system
Find the args field under containers and add the --kubelet-insecure-tls parameter, as follows. Save and exit, and the Deployment will be automatically updated.
1containers:
2  - args:
3      - --kubelet-insecure-tls
The reason for this operation is that
Metrics Serveruses a self-signed certificate by default, and theKubernetesAPI Server may refuse to communicate with it.
Check the Metrics Server Status
1kubectl get pods -n kube-system | grep metrics-server
You should get the following output, the Pod of metrics-server should be in the Running state.
metrics-server-6d4c8c5f99-7z5zv 1/1 Running 0 3m
Then you can use the kubectl top command to view the real-time resource usage in the cluster.
1kubectl top nodes
2kubectl top pods -n <namespace>
Integrate ArgoCD
#
ArgoCD is a tool for GitOps deployment, which helps us store application configuration files in a Git repository and automatically synchronize them to the Kubernetes cluster through ArgoCD.
Create a Namespace #
1kubectl create namespace argocd
Install ArgoCD
#
1kubectl apply -n argocd -f https://raw.githubusercontent.com/argoproj/argo-cd/stable/manifests/install.yaml
If it is a single-node cluster, the control-plane node also needs to run normal Pods, that is, ArgoCD related Pods. However, the control-plane node generally has a node-role.kubernetes.io/control-plane taint, which prevents normal Pods from being scheduled to the control-plane node. Here is a quick solution for testing, which is to remove the taint on the control-plane node so that it can run normal Pods.
1kubectl taint nodes --all node-role.kubernetes.io/control-plane-
Check the Pod Status
#
1kubectl get pods -n argocd
All Pods should be in the Running state. If there are Pods in the ContainerCreating or Init state, wait a moment before checking again.
NAME                                                READY   STATUS    RESTARTS   AGE
argocd-application-controller-0                     1/1     Running   0          6m14s
argocd-applicationset-controller-84c66c76b4-zf6bd   1/1     Running   0          6m15s
argocd-dex-server-97fdcf666-4pbwc                   1/1     Running   0          6m15s
argocd-notifications-controller-7c44dd7757-2twjj    1/1     Running   0          6m15s
argocd-redis-596f8956cc-wf6md                       1/1     Running   0          6m15s
argocd-repo-server-577664cf68-ngbcz                 1/1     Running   0          6m15s
argocd-server-6b9b64c5fb-qtk6b                      1/1     Running   0          6m15s
Expose the ArgoCD Server
#
1kubectl patch svc argocd-server -n argocd -p '{"spec": {"type": "NodePort"}}'
Check the ArgoCD Server NodePort Port
1kubectl get svc argocd-server -n argocd
You should get the following output.
NAME            TYPE       CLUSTER-IP    EXTERNAL-IP   PORT(S)                      AGE
argocd-server   NodePort   10.97.82.16   <none>        80:31027/TCP,443:32130/TCP   14m
Where
80:31027/TCPis theHTTPport, and443:32130/TCPis theHTTPSport. You can access theArgoCDUI viahttp://<control-plane-ip>:31027.
Get the public IP address of the control-plane node and then access http://<control-plane-ip>:31027. For AWS EC2 instances, you can view it in the AWS console.

Get the Initial Password of the ArgoCD Server
#
1kubectl get secret argocd-initial-admin-secret -n argocd -o jsonpath="{.data.password}" | base64 -d
The username is
admin, and the password is the output of the above command. It is recommended to change the administrator password immediately after logging in.
Install the ArgoCD CLI
#
To integrate with CI for automated deployment, the ArgoCD CLI (command-line tool) is essential.
Download #
1curl -sSL -o argocd https://github.com/argoproj/argo-cd/releases/latest/download/argocd-linux-amd64
Assign Execution Permissions #
1chmod +x argocd
Move the Executable File #
Move argocd to the /usr/local/bin directory.
1sudo mv ./argocd /usr/local/bin
Verify Installation #
1argocd version
Configuration the ArgoCD CLI
#
1argocd login <ARGOCD_SERVER> --username admin --password <YOUR_PASSWORD> --insecure
ARGOCD_SERVERis the address of theArgoCDserver, andYOUR_PASSWORDis the password of theArgoCDadministrator.The
--insecureparameter is becauseArgoCDdefaults to using a self-signed certificate, and theArgoCD CLImay refuse to communicate with it.
Verify Connection #
1argocd app list
So far, the deployment and integration of Kubernetes and ArgoCD have been completed, and you can start deploying applications.
Because ArgoCD is only responsible for the CD part (obviously), the application packaging and building are still not automated. Especially for preview and test environments, we usually want to have real-time builds and deployments. Therefore, we still need to build a CI environment.
Please refer to the next post: Setup Jenkins in AWS EC2 for the deployment of Jenkins in AWS EC2.